What is Webpack?
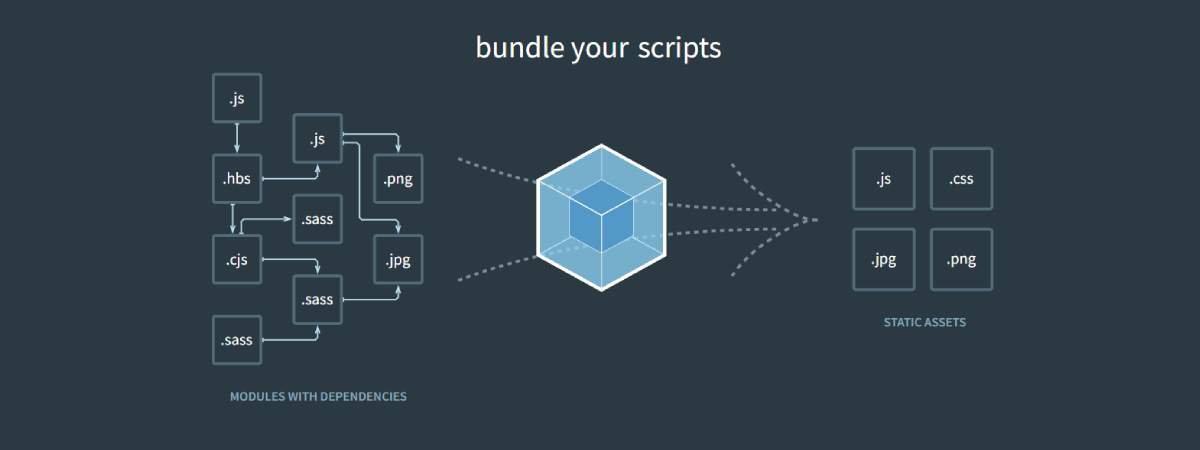
Webpack is a free and open-source module bundler used to compile JavaScript modules for usage in the browser. It can generate a single file (or a few files) given a large number of files. Although Webpack is primarily for JavaScript, it can also transform front-end assets (HTML, CSS, images) by adding the corresponding loaders. From the given entry points, Webpack internally builds a dependency graph that combines every module the project needs into one or more bundles.
With this, the client doesn't need to make multiple requests to the server for static files. Since the bundle is loaded one time, it helps to optimize the load time and gives more control as to choosing what is needed.
Installation
Let's get started by creating a new NodeJS project webpack-demo.
mkdir webpack-demo
cd webpack-demo
npm init -y
To add webpack to our project, we must install webpack and webpack-cli as a dev-dependency through npm
Here, webpack is the module bundler and webpack-cli is the command line interface for webpack.
npm install -D webpack webpack-cliConsider the following project structure for webpack-demo
.
├── src
│   └── index.js
├── package.json
├── package-lock.json
└── webpack.config.js
Let's add some content to the ./src/index.js file,
console.log("Hello there!");Now that we have a simple Node project, you can execute it by running,
node src/index.jsWebpack Configuration
Webpack configuration is set typically in a file named webpack.config.js at the root of the project. Let's create that file and break down the basic concepts we discussed earlier.
Entry
An entry point is which webpack will use to begin compiling into the bundles. By default, its value is ./src/index.js, but you can specify any or multiple entry points in the webpack.config.js file.
Add the following content to the webpack.config.js
const path = require("path");
module.exports = {
  entry: {
    main: path.resolve(__dirname, "./src/index.js"),
  },
};
Output
The output defines where to emit the build files and how to name them. By default, it sets to ./dist/main.js and can also be configured in the webpack.config.js file.
Here, [name] resolves to main in entry object. The output file will be ./dist/main.bundle.js
module.exports = {
  // ...
  output: {
    path: path.resolve(__dirname, "./dist"),
    filename: "[name].bundle.js",
  },
};
Let's add a build script to the package.json file to execute the webpack config.
"scripts": {
  "build": "webpack"
},
Now you can try.
npm run buildYou'll see the bundle file in the specified output path.

Plugins
Plugins can be used to do a wide range of tasks like bundle optimization, asset management and injection of environment variables. To use a plugin, it must require() and added to the plugins array. They are customizable through options and can be used multiple times in a configuration when creating an instance with the new operator.
Create ./src/index.html and add the following content.
<!DOCTYPE html>
<html lang="en">
  <head>
    <title>Webpack Demo</title>
  </head>
  <body>
    <div id="app"></div>
  </body>
</html>
Let's update the ./src/index.js file with the following content.
// Create heading node
const heading = document.createElement("h1");
heading.textContent = "Hello there!";
// Append heading node to the DOM
const app = document.querySelector("#app");
app.append(heading);
Now that we have an index.html file, we have to transform it using a plugin named html-webpack-plugin
You can add it as a dev-dependency by running the command,
npm i -D html-webpack-pluginNow you add the plugin to the plugins: [] property as below,
const path = require("path");
const HtmlWebpackPlugin = require("html-webpack-plugin");
module.exports = {
  // ...

  plugins: [
    // Generates an HTML file from a template
    new HtmlWebpackPlugin({
      template: path.resolve(__dirname, "src/index.html"), // template file
      filename: "index.html", // output file
    }),
  ],
};
This will bundle the ./src/index.html file to ./dist/index.html and link the ./dist/main.bundle.js file to it.
Now run the build script and check the ./dist directory.

.
├── dist
│   ├── index.html
│   └── main.bundle.js
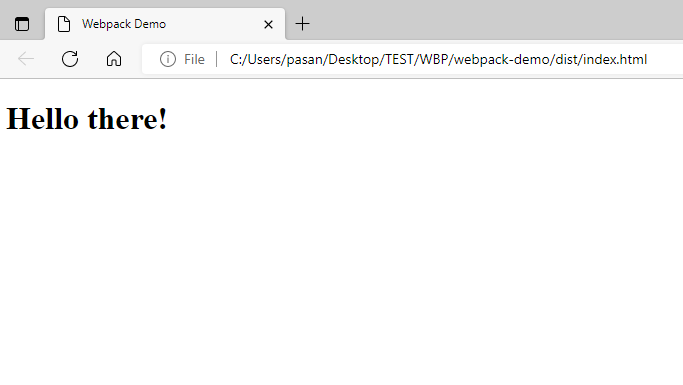
You can open the ./dist/index.html file in your browser and see how our script works.

That's it! You can bundle your JavaScript code with webpack by setting up the configuration as you want.
For more information visit the webpack official documentation and tutorials.
GitHub repo: https://github.com/pasanjg/webpack-demo
Here's another project I've done using Vue 2 and Webpack, https://github.com/pasanjg/fcl-vue-components to bundle Vue components for web projects.
